
How to Replace Rotors Like a Pro
Tip 1: Ensure Vehicle is Properly Supported
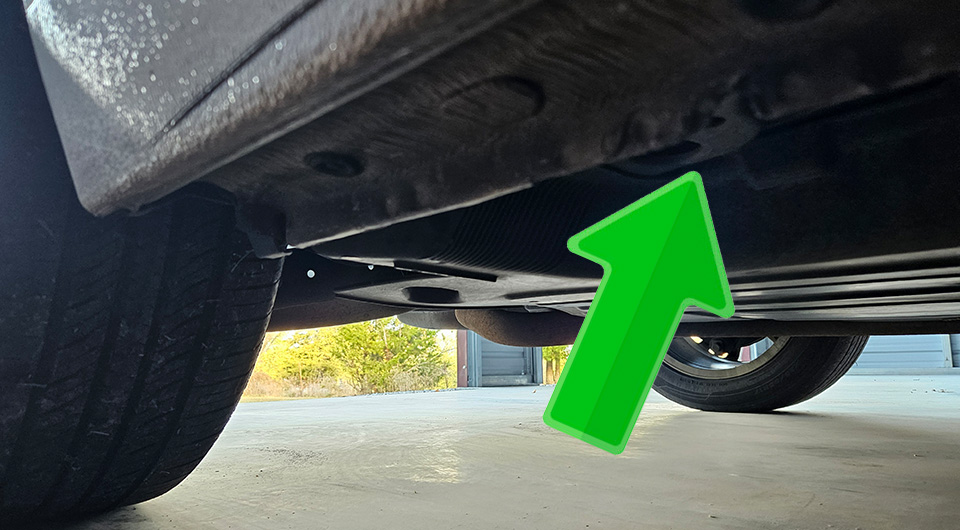
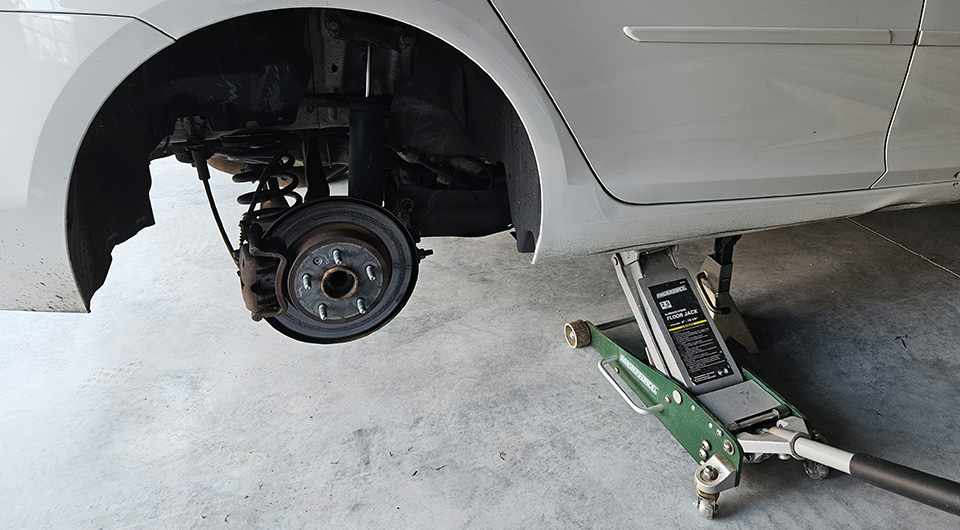
Always loosen lug nuts with vehicle on the ground for proper leverage. Then, either find a frame jack point under the doors (pictured below), or on the frame itself. You can use the lower control arms too, if needed, but frame is preferable. Also add a jack stand for safety. You want the vehicle perfectly sturdy in case you need to get forceful when removing components.
Tip 2: Righty-Tighty, Lefty-Loosey is Harder Than it Looks
Even after working on tons of brake jobs, the above can fool us all. The caliper and mounting bolts are all behind the rotor; do they still follow the above rule? Remember this instead, counter-clockwise loosens, facing the bolt.
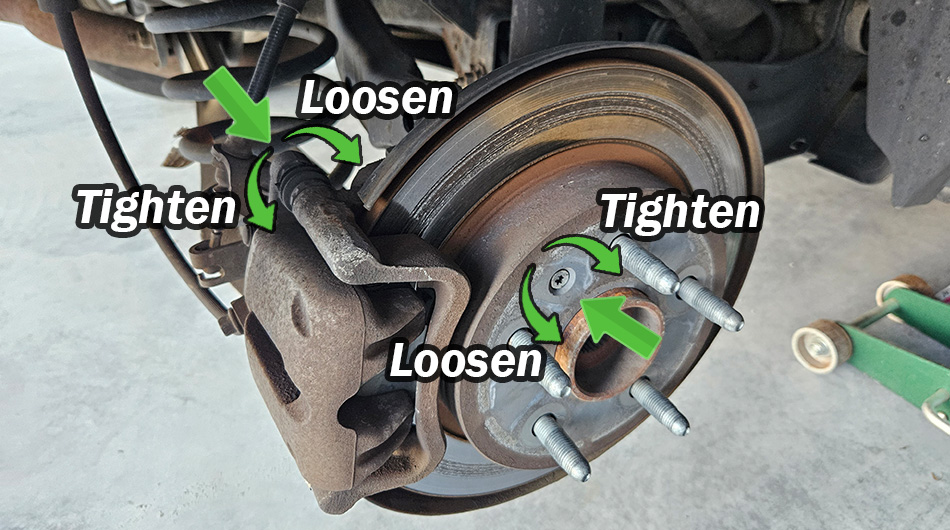
When facing the above, we see the rear bolts will be the reverse direction that we use to loosen / tighten the screw facing the front. If we were facing the bolt from the back though, it would still be left = loosen. Counter-clockwise.
Tip 3: Secure the Caliper Correctly
Nothing will ruin your day faster than hastily lifting off the caliper, balancing it awkwardly on something in the suspension, only to knock it down later. This can result in broken brake hoses, spilled brake fluid, and a much larger job on your hands. Use a hook to hang it from the suspension, place it on something sturdy you have around; like a bucket. Anything to support it, without straining the brake lines.
Tip 4: Clean the Rotor Mount
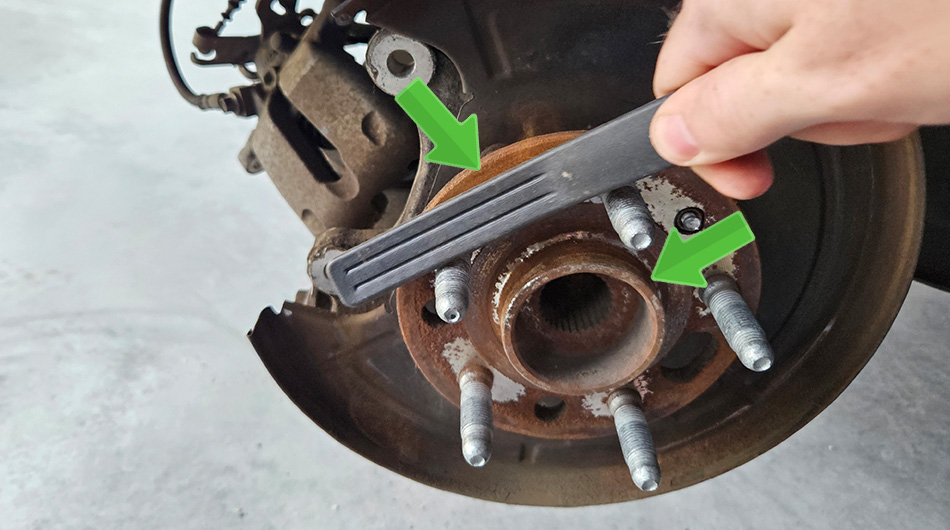
It takes very little rust and brake dust buildup to cause vibrations, as your rotor isn't perfectly seated against the wheel hub. If things aren't looking spic and span, as we see on this Malibu, take the time to use a wire brush on it. Just scrape it down until things are nice and smooth again. It doesn't have to look perfect.
Tip 5: Clean the New Rotor
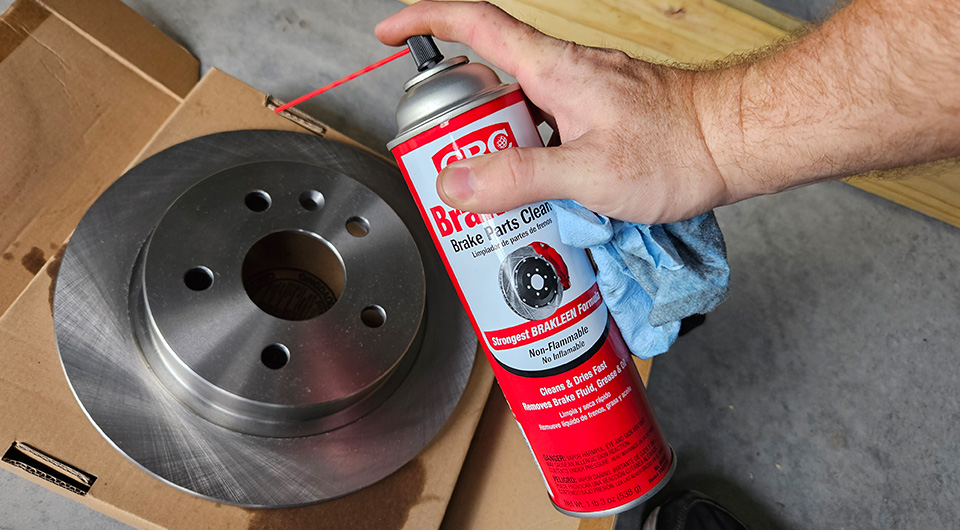
This one might seem odd, but it really is necessary. There's tons of manufacturing gunk and oils on new rotors that you can't see, until you spray some brake cleaner on it and wipe it down with a Scott's paper towel.

Tip 6: Re-grease the Slide Pins
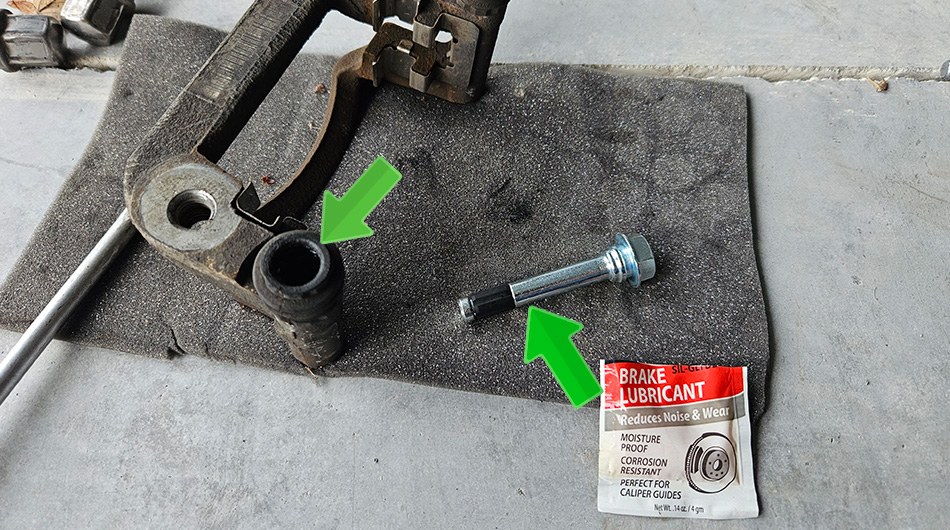
If your slide pins are looking a tad grungey or like they could use some extra....slide, go ahead and apply some additional caliper grease. A little packet like that shown costs very little at auto parts stores.
Tip 7: Deal With Stripped Security Screws, the Hard Way
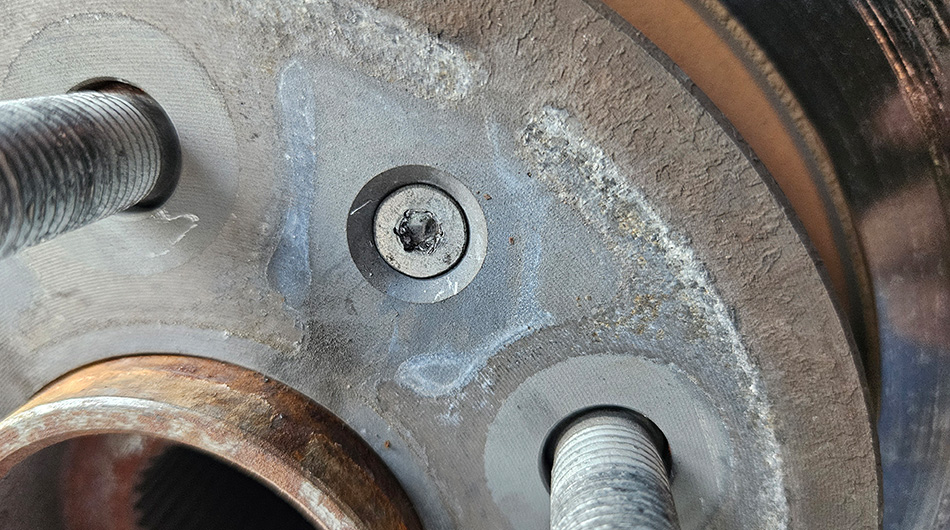
If you encounter a screw like the below, don't be afraid to deal with it, the hard way. These screws simply keep your rotor tidy as you put things back together, but serve no real purpose. The wheel and lug nuts will keep the rotor snug on the wheel hub. If you can't get this screw off, grab an electric drill with a 1/4 inch drill bit, and drill the head off of it. Drill it real good, until it's basically all zipped off.
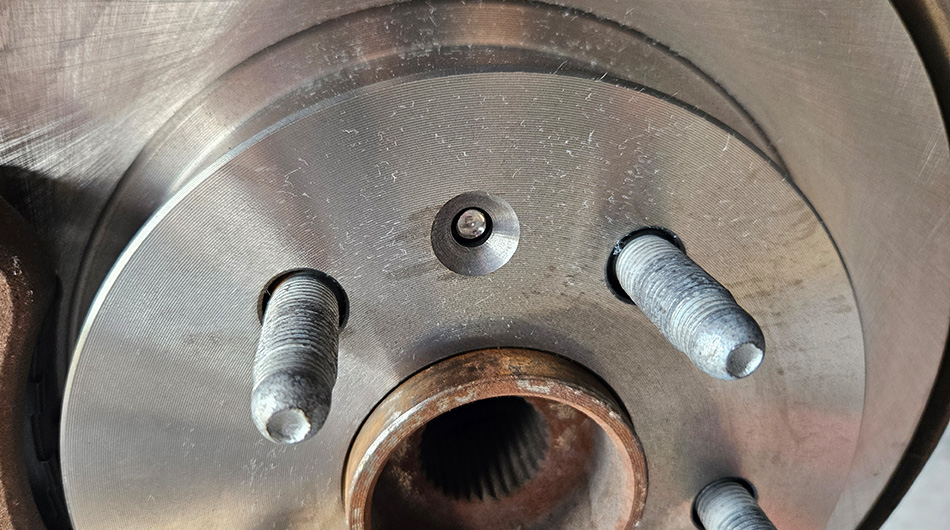
Hammer the old rotor from behind, and you'll be left with this. You can just put the new rotor right on top when you re-install.
Conclusion
Doing the above will result in calipers that move freely, smoothly, and have the correct diameter for all brake interactions. It will avoid broken bolts and bolts that are impossible to remove next time. Hope these tips help!
